
Love the look of vintage Halloween decorations, but hate how pricey they can be?
Learn how to create these DIY vintage Halloween inspired trinket boxes with just a few items from the craft or dollar store!
Wow…what an appropriate post for a “Throwback Thursday”. I was going through files on my old Mac and came across folders upon folders of recipes, tutorials and parties that I photographed for the website in 2012-2015…and never posted. 🤦🏽♀️
This particular tutorial was to accompany my Mid-Century Macabre class that I taught at Scare LA in 2014. Since the class was a hands-on tutorial, my photos weren’t the most descriptive and were only used to be displayed on a projector screen.
But after realizing that I’ve made several of these little vintage Halloween inspired trinket boxes as gifts and use the ones from the original tutorial as part of my regular decor, I figured it was time to dust off the files and get them up here on the website, just in time to kick off the Halloween season!
If you’ve followed me for some time, then you’ve likely seen some of my personal collection of vintage Halloween and horror items that I like to collect. It’s not the most pocketbook-friendly hobby to have, so I wanted to create something that embraces the look, but costs just a few bucks to make.
If you look in the right places, you can find tons of pieces and findings for your items. I use papier-mâché boxes and ornaments from the craft store (less than $1 each!), assorted plastic/foam gourds and pumpkins (found at the dollar store), spooky ribbon, and cardstock cutouts that I made myself with my Halloween paper punches.
I hope this tutorial inspires you to make some of these cute vintage Halloween trinket boxes to give out as gifts, adorn your Halloween dinner table, or just to add to your everyday spooky décor!
Vintage Halloween Inspired DIY Trinket Boxes

You don't have to spend a fortune to get the look of your favorite vintage Halloween decorations. Learn how to make these easy and inexpensive vintage-inspired trinket boxes with just a few items from the craft or dollar store. Fill them with your favorite knick-knacks, or with candy for a special Halloween gift!
What You Need
- Paper mache boxes
- miniature pumpkins
- craft paint & brushes
- various adhesives
- Binder or paper clips
- Sharpies
- Mod Podge Sealer
- Glitter
- Ribbon / Tape
- Craft Paper & Punches
- Paper cupcake wrappers
What To Do
Step One
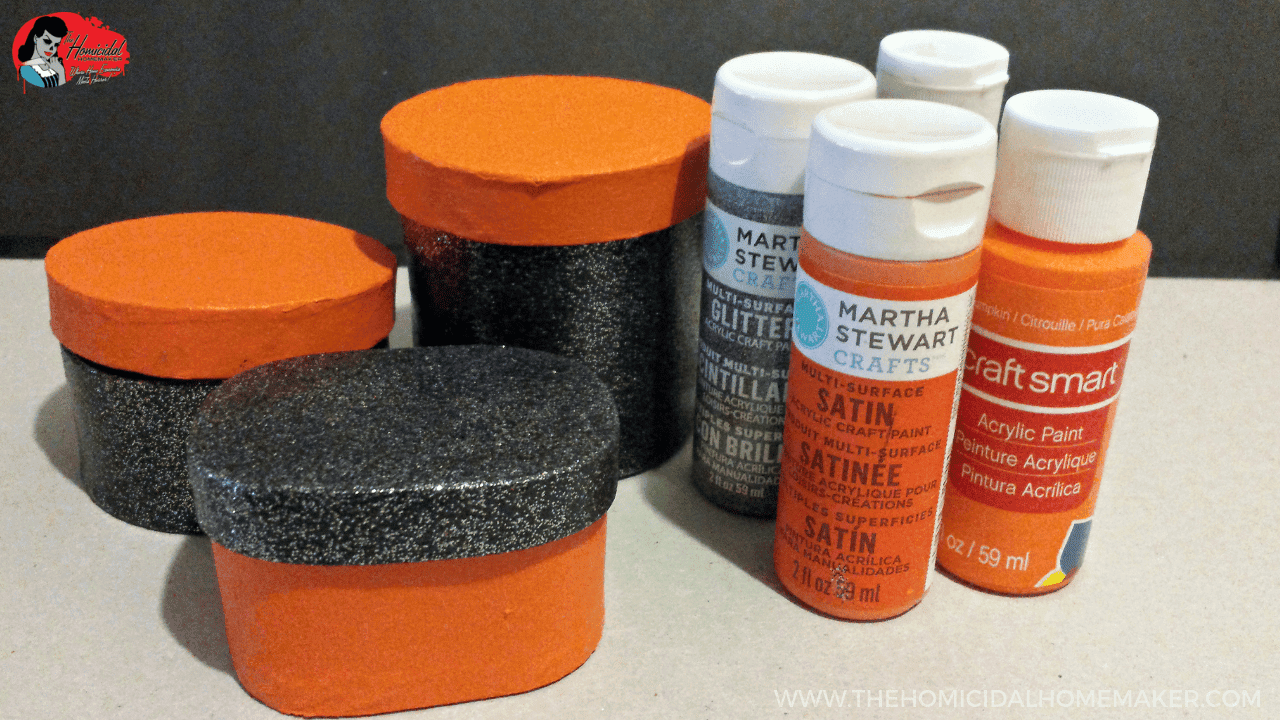
Paint the Boxes
Using craft paint and a sponge ‘brush’, paint your boxes the desired color(s). Have fun with it! Use paints with different finishes and textures. A regular paint brush will work just fine, but I prefer using a sponge ‘brush’ to eliminate brushstrokes, and achieve a smooth, flawless finish.
It is optional to coat the inside of the box with paint. You can also use card stock to line the insides of the boxes, if desired.
Use a decent-quality paint—you’ll need less coats, and get better coverage. I also prefer using glitter paint as opposed to glue and glitter (as seen on one of the boxes, above).
Step Two
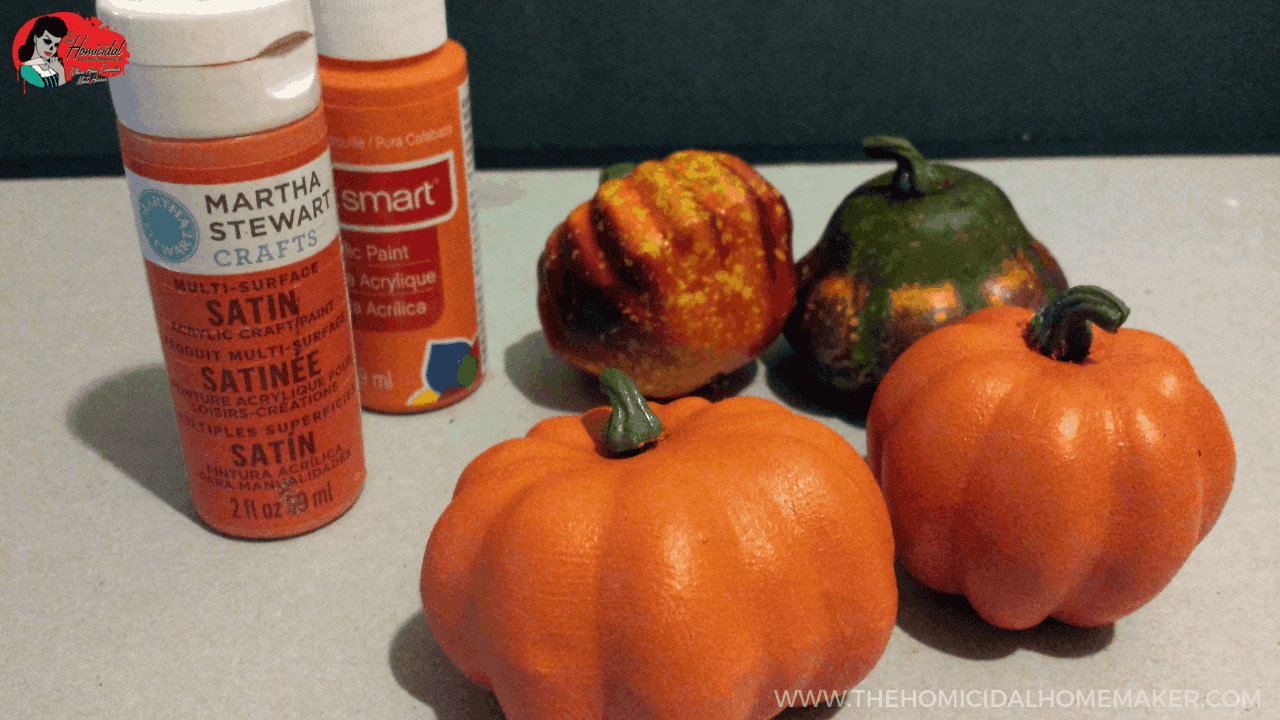
Paint the Pumpkins
Using craft paint and a sponge ‘brush’, paint the pumpkins (or paper mache ornaments, if using) the desired color. I used a matte solid orange for my pumpkins and black for the cat.
It’s important to use a good-quality paint to eliminate the need for several coats. The Martha Stewart Everyday paint pictured here worked great; I needed only 1-2 coats of this paint, while the other cheapo one pictured next to it was a nightmare and would have taken about 10 coats. BEWARE.
Step Three
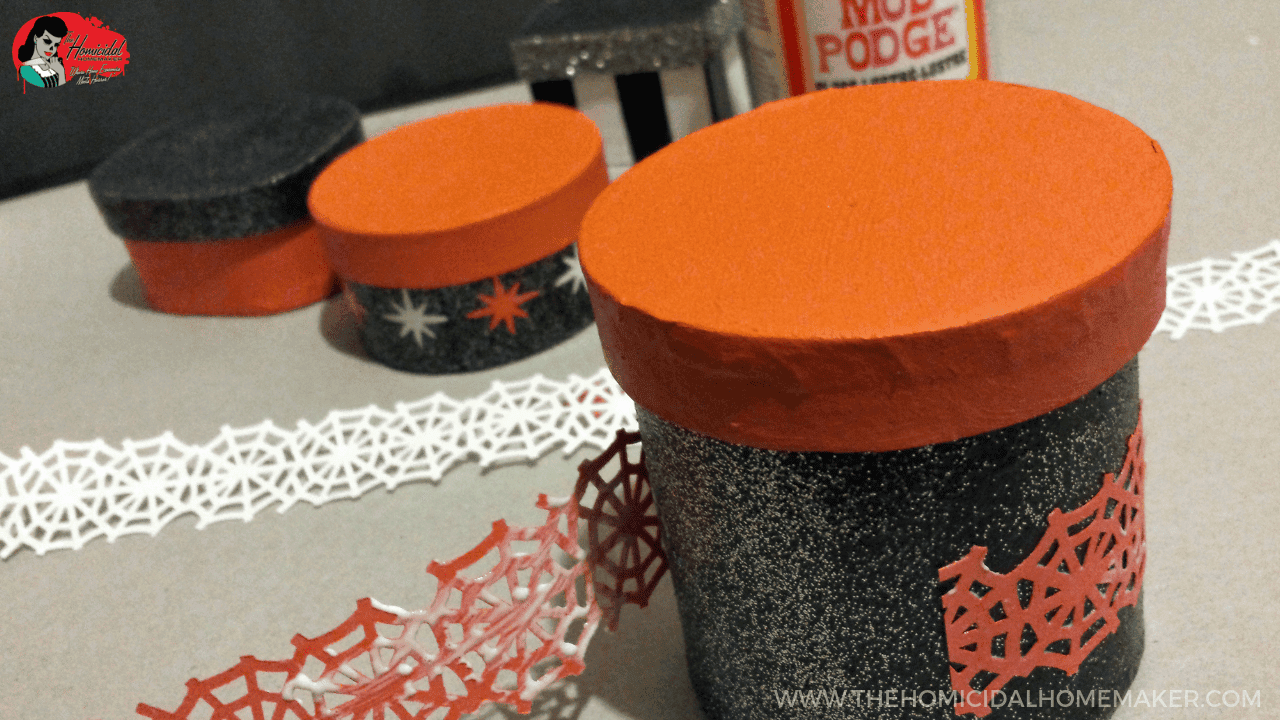
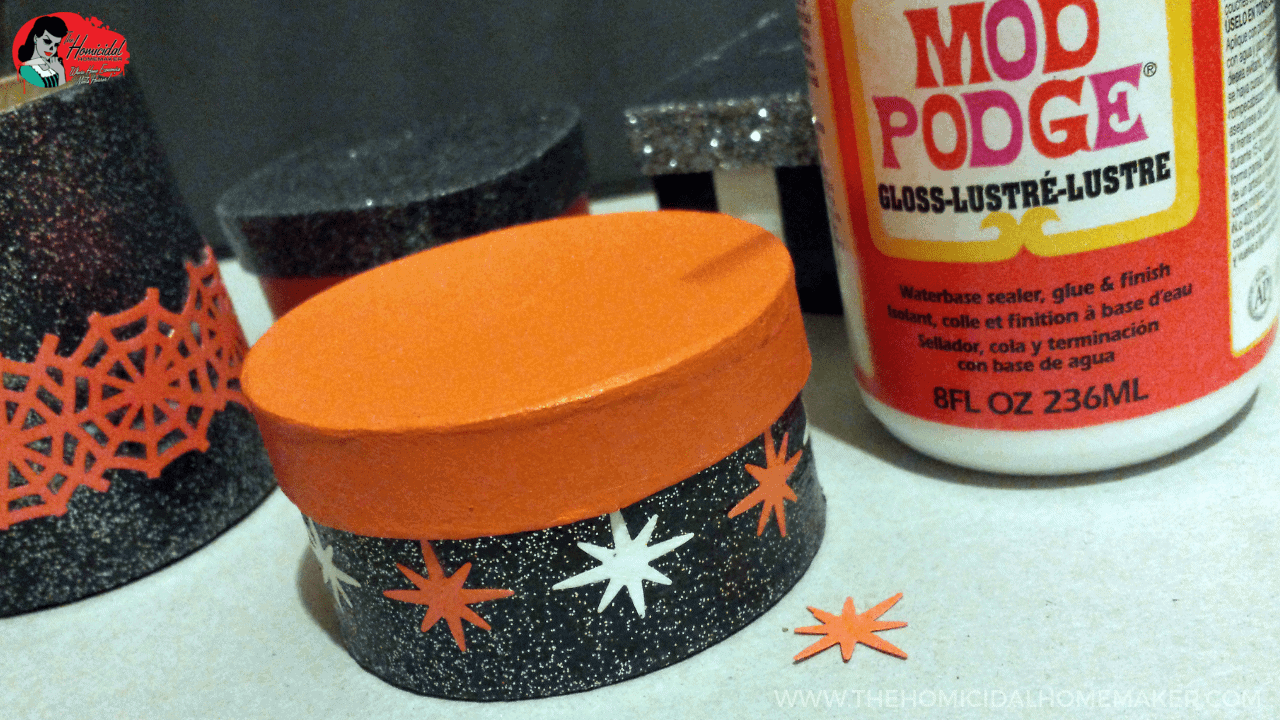
Attach the Paper Cutouts
I have an assortment of spooky paper punches, so I just used those to cut out out long strips of spiderweb cutouts, and atomic starbursts. If you don’t have any fancy paper punches, you can cut them out by hand with scissors or an Xacto.
Using Mod Podge and a sponge brush, attach the paper cutouts and embellishments to boxes. Allow to dry, and then completely seal with a couple of additional coats of Mod Podge. Use thin coats so it doesn’t bubble up or wrinkle the paper.
A hairdryer on ‘med/low’ will help speed up the drying process, but heat can make the Mod Podge bubble and wrinkle, so it’s important to use thin coats combined with very low heat.
Step Four
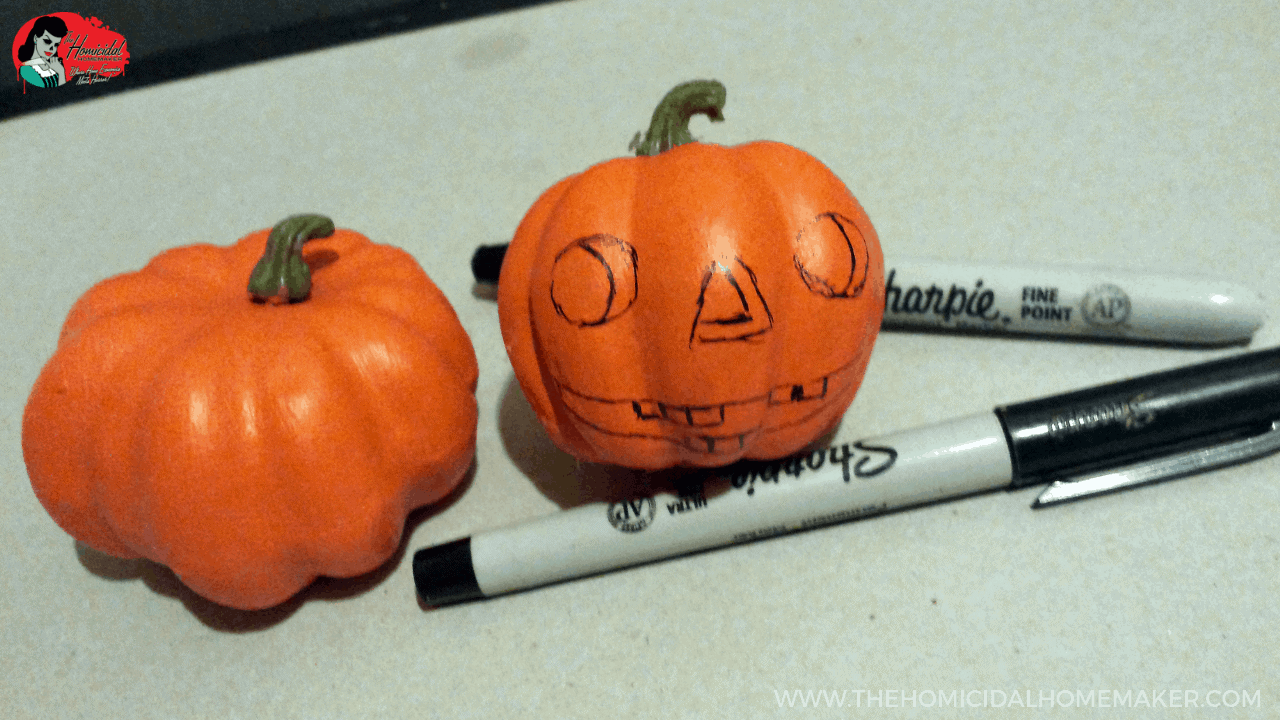
Draw the Face Details
Now we’re going back to the pumpkins/toppers. Using a pencil or fine-point pen, draw the face on your pumpkins. If you mess up—don’t worry! All mistakes can be cleaned up with orange paint.
I looked at pictures of vintage Halloween decorations for inspiration on how to draw these.
Step Five

Paint the Faces
Next, fill in facial features with craft paint in desired colors. I always begin with the lightest color first, with the exception of highlights in the eyes. In this case, I used a bright yellow.
To fill in small areas, use a tiny brush or trim down an inexpensive paint brush to shorten the bristles and really gain control.
Step Six

Add Additional Face Details (and Fix Mistakes!)
Now you’re going to add the black paint to the facial features. If you don’t have a steady hand…use paint pens or a good ‘ole Sharpie marker! Then clean up any rough edges with orange paint.
Use a small brush or a toothpick to add white highlights to the eyes and teeth. Remember the cheapo paint I advised you NOT to use, above? Those cheapo paints are totally fine for super small details like the faces, but not ideal for covering a large area.
Step Seven

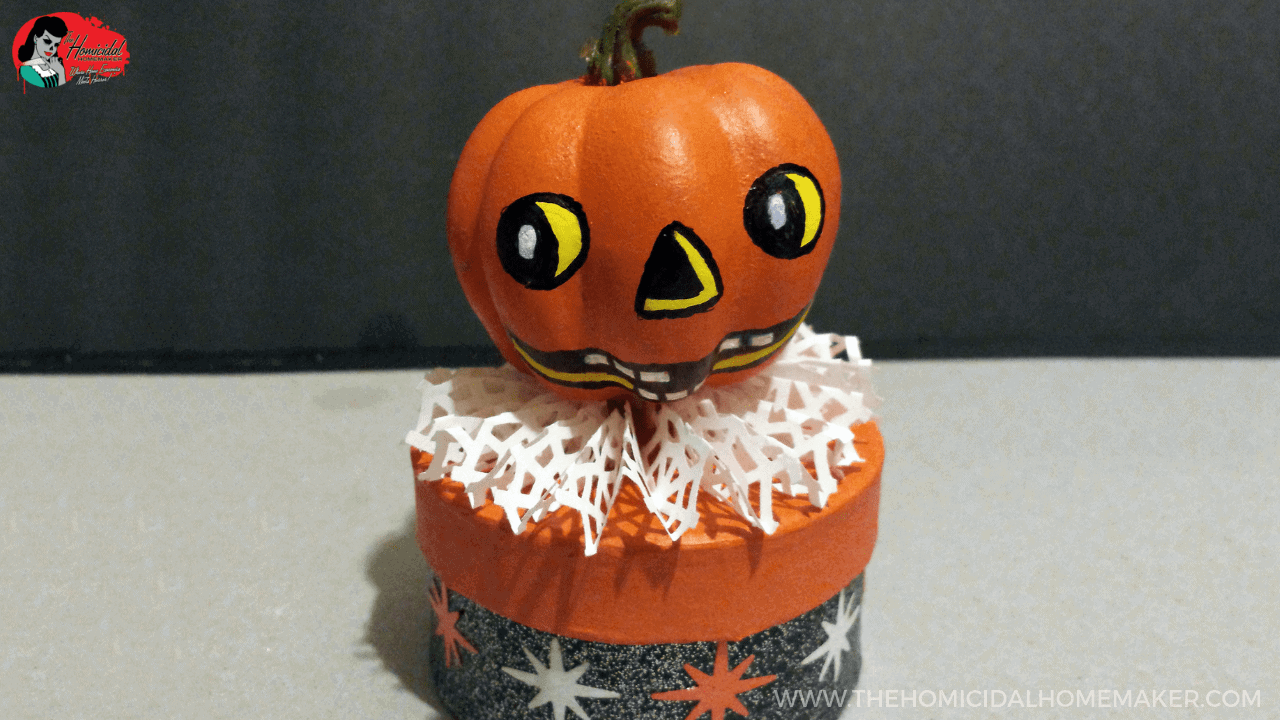
Make a Collar
While the pumpkin faces are drying, make a collar for your pumpkin!
You can use cupcake wrappers, crepe paper strips, or simply craft paper folded accordion style. The collar pictured above is made of strips of paper cut out with a spiderweb paper punch, folded accordion style, and then secured with glue.
If you’re using a glue that takes a while to dry or get tacky, I like to use small binder clips or paper clips to hold them together until completely dry. If you’re short on time or impatient, hot glue would be the fastest route to take here.
If you’re going the cupcake wrapper route, simply flatten 2-3 cupcake wrappers, and poke a hole in the middle. You’ll attach these to the bottom of the pumpkin just before you attach it to the lid, in the last step.
Step Eight

Anchor the Pumpkin to the Lid
Using a sharp object, such as an awl or a nail, poke a hole in the center of the box.
Then poke a hole in the bottom of the pumpkin. Dip the end of a toothpick in a bit of glue, and insert it into the bottom of the pumpkin. Allow to fully dry before attaching it to the lid.
After it has completely dried, add glue to the bottom of the pumpkin, at the collar, and then stick the toothpick into the hole in the lid; use glue on the underside of the lid to make sure it is securely attached.
Secure the lid onto the box to keep it upright as the glue dries.


")


Love love love. Will the pumpkins survive year after year or do you do it each year.
If you use foam or paper mache pumpkins, they’ll absolutely hold up! I have some lying around that I painted years ago and they still look great!
These are TOO precious! The past two years or so, I’ve started collecting vintage Halloween items like this. I love that it seems to be on trend this year and easy to buy but, I like to upcycle and DIY where I can. I’d love to give these a try, they’d be a welcome addition!
I hope you do give them a try! I have been so happy with all of the vintage-inspired decor that has been popping up in stores, but some of them are so pricey and outside of my budget. I can’t wait to see pics of what you create!
These are wonderful! And so authentic.
Thank you! I’m really happy you like them! I collect a lot of vintage, but sometimes, vintage Halloween pieces are SO expensive, and the reproduction items are pretty costly too. Some folks out there love the look of it but just can’t justify spending the funds, so I wanted to show folks how they can get a similar look with frugal supplies. I hope you make one of your own!
these are beautiful, I want to make these sometime soon!
Thank you so much! I hope you do give them a try. It’s super easy to personalize them to your own personal style, too!