This post is sponsored in part by Nostalgia Electrics, who generously provided their Chocolate & Caramel Apple Party for my review. Unless otherwise noted, all text, photos, and opinions are my own.
One of my favorite ways to welcome the autumn season is to make homemade caramel apples.
Oh, who am I kidding? I live the Halloween season 24/7!
But something in particular about that time of the year—when the leaves begin to change into beautiful tones of yellow and orange, and being welcomed by the cool, crisp air of Autumn—just makes me want to make batches upon batches of homemade kettle corn and bite into a freshly-dipped caramel apple.
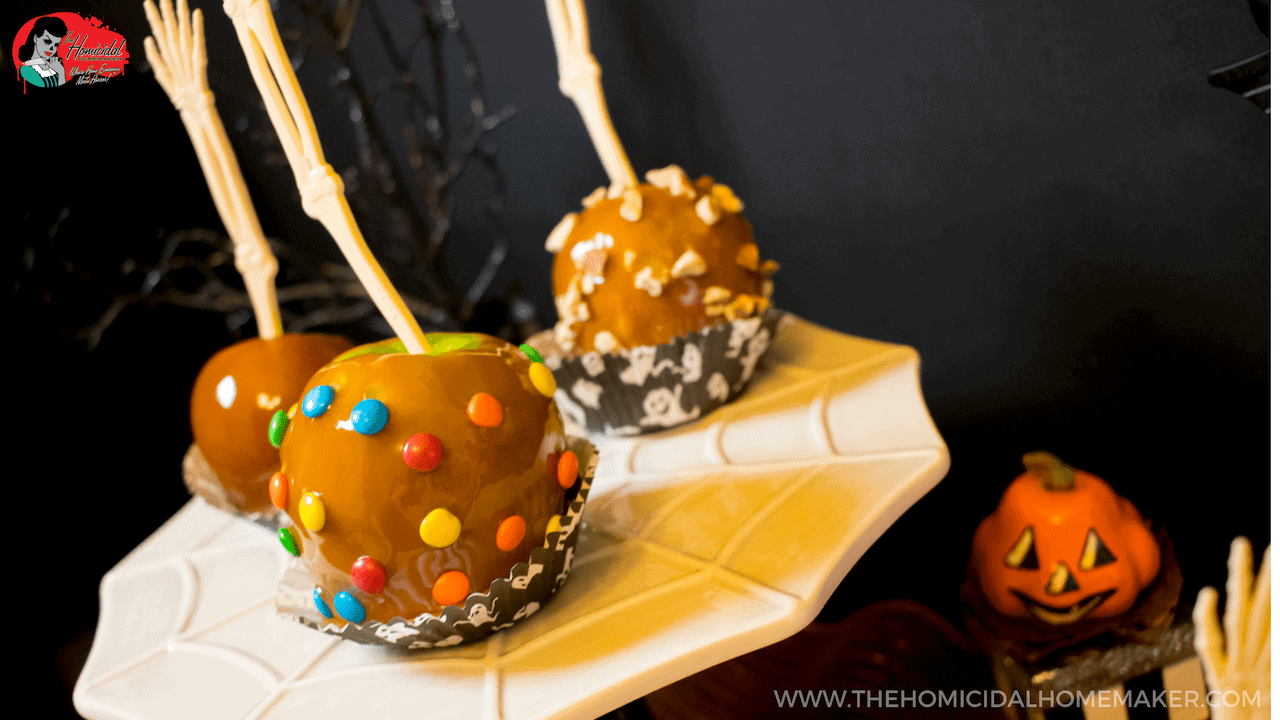
With rich, chewy caramel enveloping a tart, crisp, juicy apple, homemade caramel apples (or SCAREamel apples, as they are referred to in the world of The Homicidal Homemaker) are absolutely one of my weaknesses. And a weakness that I willingly will give in to, again and again.
So when my friends over at Nostalgia Electrics showed me some of their new products debuting, which included their Chocolate & Caramel Apple Party decorating station, I knew I had to give this a try.

Now, if you’ve ever tried to make caramel apples with children, well…you know that disaster is just lurking around the corner, waiting to strike. Molten caramel and tiny hands? Not a good idea. But I did it for my brother’s class when he was in the fourth grade…and fortunately, nothing tragic occurred. But it was quite a task to organize: I prepared a jumbo-batch of my homemade caramel and kept it warm in a large crockpot. I pre-stabbed all of the apples with their sticks. I pre-tore sheets of parchment paper and placed them on paper plates. And I portioned out all of the toppings into individual containers with plastic spoons. And then I let a classroom full of fourth-graders loose to dip and decorate to their heart’s desire.
Nostalgia Electrics’ Chocolate & Caramel Apple Party eliminates a lot of that stress, by keeping everything in an easy-to-access station, ensuring a mess-free setup. Since it even keeps your caramel (or chocolate) at the optimal temperature for dipping, it is perfect for smaller parties, or even for streamlining the process if you’re just making apples all by your lonesome.

Features
- Melting Pot: a 16-ounce melting pot is included. It is like a small electric crock pot, that keeps your melted caramel and chocolate at the perfect temperature for dipping apples, strawberries, marshmallows, pretzels, etc.
- Topping Trays: Six topping trays are included to hold your favorite candies, nuts, sprinkles, and toppings. I filled mine with chopped almonds, miniature M&M’s, chopped Reese’s Peanut Butter cups, and Halloween sprinkles.
- Decorating Trays: The station features four decorating trays to cradle your apples and easily coat them with toppings, as well as catch any excess toppings, keeping your setup mess-free.
- Lazy-Susan: the Lazy-Susan carousel base makes it easy to rotate and share toppings while decorating.
- Easy Cleanup: The melting pot, topping trays, and decorating trays are all removable, for fast and easy cleanup.

The Setup
I love the bold fall colors of the product. As for the individual pieces, they are well-constructed and sturdy. It only took me a few minutes to set everything up after removing it from the box and washing/drying all of the pieces. The setup is really straight-forward: you have a Lazy-Susan carousel base that sits on top of a small crockpot base. The inserts then fit on top of the base.
From there, you just need to add your toppings and caramel, and you’re good-to-go. Since I make my own caramel from scratch, I can’t tell you how the Melting Pot works for melting down pre-made, packaged store-bought caramels on it’s own. But with any crockpot, temperatures are slow and steady, so I would imagine it would take a great deal of time…but it’s doable (besides, who wants to actually unwrap all of those caramels? Not me!). Another reason I highly recommend making your own caramel from scratch – when it’s ready, it’s already at the perfect consistency for dipping, and pouring it into the Melting Pot ensures it stays at that temperature.
The Melting Pot is the perfect size for completely submerging the apple into delicious, molten caramel. After dipping, I allowed the excess to drip back into the Melting Pot, before placing the dipped apple onto a non-stick Silpat baking mat (okay, mine are not the actual Silpat brand, but they work just the same, and are a serious game-changer in the kitchen. Invest in a few – you won’t regret it). While dipping, I found that smaller apples worked the best.
My only itsy-bitsy minor criticism is that I wish the topping trays were just a tad deeper. If you’re hosting a party with a lot of guests, you might find yourself replenishing the trays more often than you care to, especially if your guests are heavy-handed with their toppings. But because there are six of them total, you do have the option to having a variety of toppings, and you always could have muffin tins or cups with additional toppings nearby if you’d care to add others. But for the small amount of apples I made—or for a small gathering—the trays were the perfect size and did not need to be refilled.

Final Verdict
After dipping the first apple, I knew I was in love with this product. I prefer to work in an assembly-line, so I washed/dryed all of my apples, pre-stabbed them with sticks, and placed my non-stick baking mat onto a baking sheet. Then it was as simple as dipping, decorating, and allowing the caramel to “set” before packaging.
The caramel stayed at the perfect temperature for dipping (and this included taking a few long breaks), and cleanup was a breeze. I let it soak with a little hot soapy water, and after a few minutes, was able to wash it clean with a soft sponge.
Making caramel apples is definitely sweeter with the Nostalgia Electrics Chocolate & Caramel Apple Party. I can’t wait to give this a try with making dipped marshmallows for my Christmas platters, or for making dipped strawberries (like my Anatomical Heart Dipped Strawberries!) for Valentine’s Day.
My go-to recipe for caramel comes from a vintage handwritten recipe card in my family’s recipe box. I’ve always been so happy with it, and received such great feedback, that I’ve never tried another. Over the years, I have made a few of my own minor modifications to the recipe. I can guarantee that making a pot of your own homemade caramel is a lot faster than unwrapping bags of store-bought caramels and melting them down…and I don’t even need to explain why the homemade caramel will taste better. Just do it – all you need are your ingredients, a candy thermometer, a pot, and a spoon.
Be sure to check out Nostalgia Electrics on Facebook, Twitter, Instagram, and YouTube!
Old Fashioned Homemade Caramel Apples
What You Need
Ingredients
- 1/2 Cup salted butter, softened to room temperature and cubed
- 2 Cups dark brown sugar, packed
- 1 Cup corn syrup
- 1/8 teaspoon sea salt
- 1 14-oz can sweetened condensed milk
- 1 Tablespoon vanilla extract
- Optional: 1/2 teaspoon vanilla bean paste
- 12-18 small tart apples
Other Supplies
- Large saucepan
- Wooden spoon
- Candy thermometer
- Popsicle sticks or skewers
- Parchment paper, or silicone baking mat
Method
What To Do
In a large heavy saucepan over medium heat, melt the butter. Then add the brown sugar, corn syrup and salt.
Cook, stirring constantly, over medium heat until the mixture comes to a boil, around 10 minutes.
Stir in the sweetened condensed milk. Cook and stir until the mixture reaches 248° (hard-ball stage on your candy thermometer). Remove from the heat, and stir in the vanilla.
Wash and thoroughly dry the apples before inserting the sticks. Dip each apple into hot caramel mixture, turning to coat and allowing the excess to drip back into the saucepan. Place dipped apples on parchment paper or a silicone baking mat. Add nuts, candies, or sprinkles before the caramel sets. Once set, drizzle chocolate on top, if desired.
If you enjoyed my review for Nostalgia Electrics’ Chocolate and Caramel Apple Party or my homemade caramel recipe, I’d appreciate it if you’d share it with your friends and family on social media. Be sure to check out my YouTube channel for episodes of my horror cooking show, tutorials, cocktails and much more! And if you created something using this tutorial, don’t forget to tag me on Twitter or Instagram & use the hashtag #HomicidalHomemaker for a chance to be featured!


Im wondering if you think melting down caramels would work for this…I have bags in my cupboard
Hi Nancy! I’m certain they would work fine; I would just allow extra time for melting them down using the included crockpot. Or you could melt them in the microwave/double-boiler and use the crockpot to keep the melted caramel at the optimal temperature for dipping.
What a delightful product! I’m definitely craving caramel apples now…
Thank you for reading, Penny! I really enjoyed using this product, and cannot wait to make some more caramel apples! My favorite is to dip them in caramel with white chocolate and cinnamon-sugar. YUM.